Vitamins:
- 3 * Synchromesh pulley
- 3 * 3mm grub screw (comes with pulley)
- 3 * 2 meter length of Synchromesh cable
- 6 * 20mm long 1/8th inch heat shrink
RepRapped Parts :
- Everything you built so far!
- Idler guide (idler_guide.stl)
Tools :
- 1.5mm hex key
- lighter (or a heat gun if you have one)
Assembly:
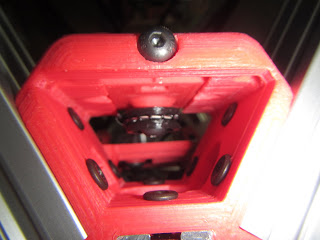
- Install the idler guide if you haven't already.
- Pop out the bearing
- Press the bearing all the way into the idler guide
- reassemble
- Loosen the idler slider - it should be as loose as it goes without falling out.
- Attach the pulleys to the motor shaft with the grub screws.
- Be sure to use the flat on the shaft, if your motor has flats.
- You might want to grind a flat if you don't have one. Slipping pulleys sucks.
- Loop!
- Slide the heat shrink onto one end of the synchromesh.
- Form a loop, and then slide the loop end into the heat shrink as well.
- You want about a small loop, but big enough to easily slide onto a 5mm bolt.
- Make sure the synchromesh is doubled up for the entire length of the heat shrink.
- Shrink!
- The loop should be rigid, with the synchromesh locking against itself.
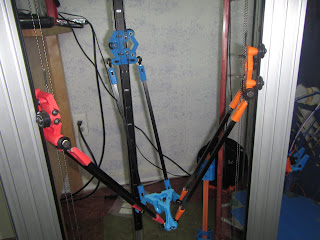
- Slide the loop onto the lower bolt of one of your rail effectors.
- Route the synchromesh onto the pulley, keeping it taught.
- Route the syncromesh up and around the idler, keeping it taught and not twisting anything.
- Finally, form another loop around the top peg
- It doesn't need to be too tight.
- Tighten the idler slider until the synchromesh is tight.
- When plucked, it should vibrate to a low note.
- Do not overtighten, you'll irritate your motor.


No comments:
Post a Comment